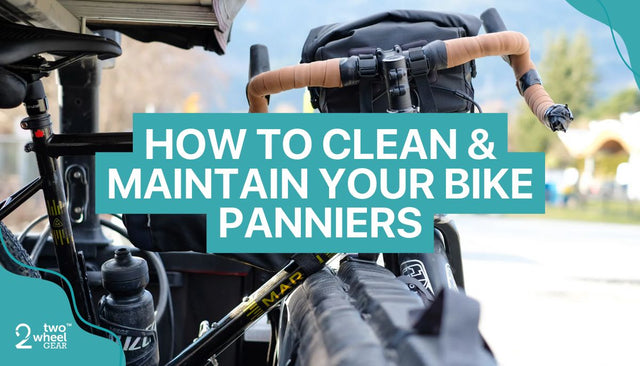
Your Pre-Bikecamping Maintenance Checklist
Picture the scene: it’s glorious sunshine. You’re pedalling along a screensaver-worthy stretch of coast. The wind is in your hair and you can smell the sea. It’s the first day of your summer cycling trip and you’re feeling alive.
Gathering speed, you squeeze your brakes as you take the corner. But the more you squeeze, the faster you gather speed. Suddenly, you’re navigating a winding, downhill road at 40km an hour with a set of unresponsive brakes and a body full of panic.
Nobody wants to be that person!
Riding a neglected bike is uncomfortable at best and extremely dangerous at worst. Because unresponsive brakes are just one example of things that could go wrong, giving your bike a thorough maintenance check is key to enjoying as safe, smooth and stress-free a cycling trip as possible.
Follow this maintenance checklist before you set off on your bikecamping adventure.
The ABC’s: Air, Brakes, Chain
The ‘ABC’s’ are a good place to start when it comes to checking over your bike. Here’s what to look for.
Air
Having enough pump in your tires helps your bike to handle better, and helps prevent a flat when you’re out on the road. Using a tire pressure gauge, check your tire pressure against the recommended PSI, which you can find on the tire sidewalls. Use a tire pump to add and remove air until you get the correct PSI.
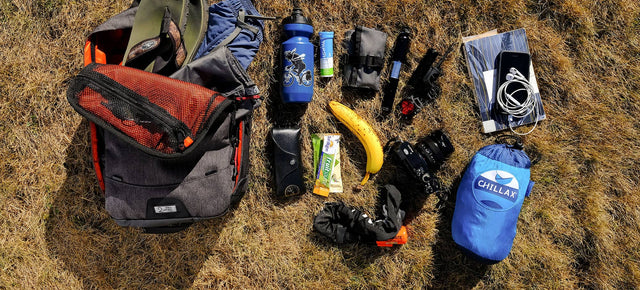
If you’re heading on a longer ride, it’s always wise to pack a tire pump and a puncture kit with you for unexpected flats, too. Check out our blog post for some of our trusty long bike ride essentials.
Brakes
Brake pads wear down over time and will need replacing. This could be the case a couple of times a year, depending on how much you ride. For rim brakes, you can check the rubber on the pads. If there are no indents, it means the top layer of rubber has worn away and you need to replace them.
To check disc brakes, you’ll need to remove the wheel and pull the brake pad out of the calliper to be able to see how worn they are. If there’s less than 1mm of compound left on the pad, it’s time to source some new ones.
Chain
Chains require tension to efficiently regulate the derailleur (the part of your bike that shifts the chain from one sprocket to the next). If you notice your bike chain beginning to skip, loose cables can often be the culprit. It’s natural for bike cables to stretch over time, but when older cables stretch too far it can spell trouble for your chain.
Here’s how to fix it:
-
Flip your bike upside down so the seat is on the pavement. Then manually pedal forward until your derailleur is on the smallest cog. Press the shifter once to see if the chain moves up a gear. If nothing happens, you need more tension.
-
Turn your barrel adjuster (the small part on the backside of your derailleur) all the way in by twisting it away from you.
-
Check the shifter again to see if the chain will automatically shift to the smallest ring in the cassette. If not, keep adjusting the barrel adjuster to add tension until you find that sweet spot!
-
If you still can’t shift without skipping, check out the cable for slack or tightness (it exits from the derailleur). Adjust the tightening mechanism until your bike can change gears without skipping.
Remember, applying too much lube to your chains can cause a build up of stickiness and grime and cause your chains to shift. It’s worth giving your chain a clean every so often with dish soap and a toothbrush to help it move more smoothly.
Wheel Alignment
If you’ve ever had to remove your wheel to find or patch up a puncture, one way to know you’ve put it back on a little off centre is because you’ll feel it rubbing up against the brake pad.
If you slid the skewer all the way out to remove your wheel, you might have dropped one of the two skewer springs – which help keep your wheel centered – or reinstalled them backwards. Check to make sure the narrow side of the spring is next to your hub, which should keep it centrally aligned.
Gears
These days, most bikes have indexed gears (where you can choose the gear position on the handlebars). These are awesome when they work properly. When they don’t, it can really impact the overall enjoyment of your ride.
If your gear of choice is slipping into a different position as you pedal, your derailleur adjustment could be off, which can result in a whole host of other problems. See our ‘chain’ section for instructions on how to fix this, or check out this handy guide by Cyclingweekly.com.
If you’re on the lookout for a new bike bag, remember: Insiders receive 10% off their first order when they sign up to our newsletter. They can also keep up to date on product releases and get first dibs on everything!
Don’t forget to follow us on Facebook or Instagram to share our #TwoWheelGear adventures.


0 commentaire
Il n'y a pas encore de commentaires. Soyez le premier à en poster un!